Take quality pics, because first impressions count
Your website is your virtual storefront, and just like in the real world, first impressions matter.
As a driving instructor, personalising your site with a pic of your school car(s) can help give credibility and validity, helping to attract new pupils, and setting yourself apart from the competition.
Whether you’re showcasing your vehicle, highlighting your training approach, or introducing yourself to potential clients, professional images can make a significant difference.
As an ex professional photographer, I find the quality of photos achievable on our mobile devices quite staggering so, with just a few tips, I hope to help you take better pics for your site.
Why does it even Matter?
1. Professionalism and Trustworthiness
When prospective pupils are looking through your website, they’re looking for signs that you’re a reliable and experienced instructor. To help with this, your site needs to look professional and hastily taken ‘snaps’ of your car on the drive is not going to help achieve this.
2. Visual Appeal
Good quality photos will enhance the visual appeal of your site, making it more engaging and inviting. This is more likely to keep visitors interested, increasing the chances they’ll explore your services further.
3. Brand Identity
The images you choose help define your brand. From the style of your car to your personal appearance, photos communicate your brand’s identity. Consistent, high-quality visuals create a cohesive look that helps potential clients understand what sets you apart from other driving instructors.
Best Practices for Photographing Your Car
Quality photos can make a big difference so, while hiring a studio is probably not a viable option, a bit of time, thought & effort can make a BIG difference.
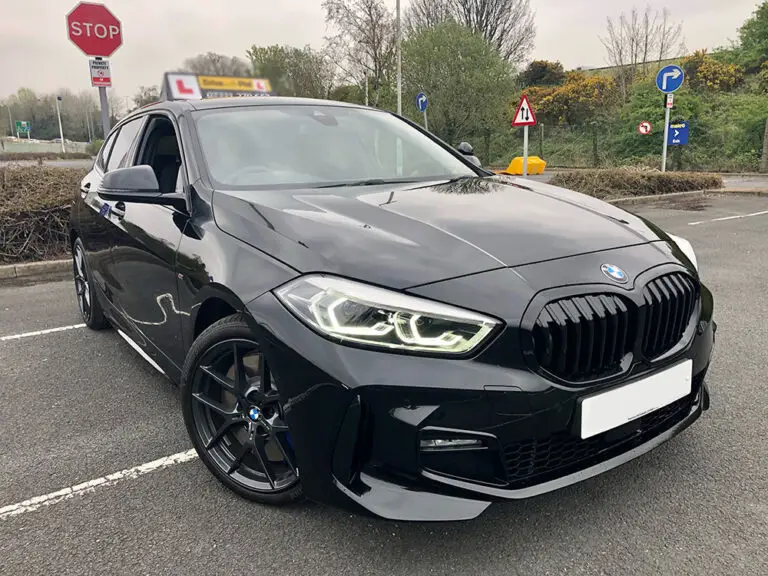
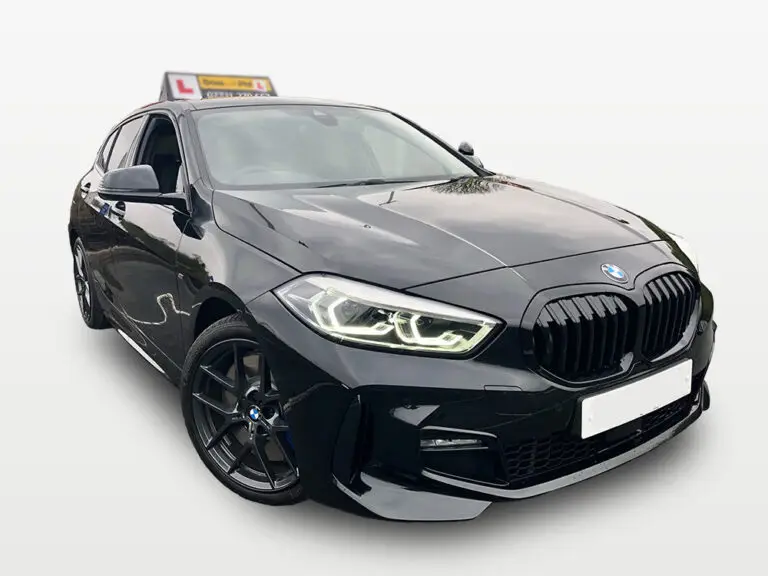
The pic above has turned out pretty well but there’s always room for improvement. What do you think could have been done differently to make it better ?
Your tuition vehicle is a key element of your service, so it’s essential to capture it in the best light, both literally and figuratively. Here are some tips to help you take photographs that will not only impress potential clients but also work well for using on your site, including where the background may need to be removed.
1. Choose the Right Time of Day
The best time to photograph your car is during the “golden hour,” which is the hour after sunrise or the hour before sunset. The soft, warm light during these times minimises harsh shadows and glare, creating a more flattering image of your vehicle.
2. Clean and Prepare Your Car
Before you start shooting, make sure your car is spotless. Wash and wax the exterior, clean the windows, and tidy up the interior. A clean car not only looks better but also photographs better. Remember, the camera picks up every detail, and a clean, shiny car will make a stronger impression.
3. Consider the Background & surroundings
While you may intend to remove the background for use on your website, starting with a simple, non-distracting background will make your job easier. A plain wall, a large open space, or a well-lit parking lot can serve as an ideal backdrop. Avoid busy or cluttered environments that can detract from the focus on your car.
4. Mind the Composition
Composition is key in photography. Position your car so it fills the frame without cutting off important parts like the wheels, bumpers or roof box. Remember, it’s easier to crop out
Shooting from a low angle can make your car look more impressive, while a three-quarter angle (showing the front and one side of the car) is often the most flattering for vehicles.
5. Use the Right Equipment
If you have a decent DSLR camera (and know how to use it) then this will give you the very best results but, for most of us a smartphone will be our tool of choice.
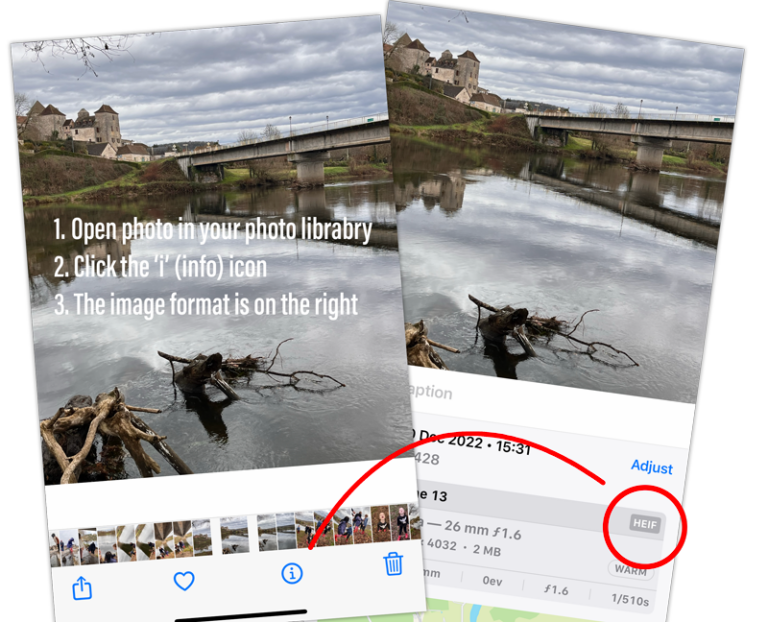
If you have the option to set the quality, then set this to max so, if it needs to be cropped, it won’t make the photo too small.
Use a tripod to keep the camera steady which will ensure sharp images.
If you are doing the photos on your own, there are some very cheap bluetooth remotes available for smartphones that allow you to take photos without touching the phone. This would allow you to take additional photos of yourself with the vehicle. There may also be something available for your DSLR if you have one
1. Capture Multiple Angles
Take photos from different angles – front, back, side, at an angle and interior shots. While only one or two may be needed at the time, this variety will give you more options for additional content or your social media. For interior shots, focus on areas where students will spend most of their time, like the driver’s seat, dashboard, and controls.
2. Lighting and Reflections
It’s not always easy but pay attention to reflections on the car. It’s best not to take photos in bright sunlight as this will create harsh reflections or glare.
If you can find a large open space, e.g. empty car park, then this could give you a photo without reflections of lampposts, trees etc
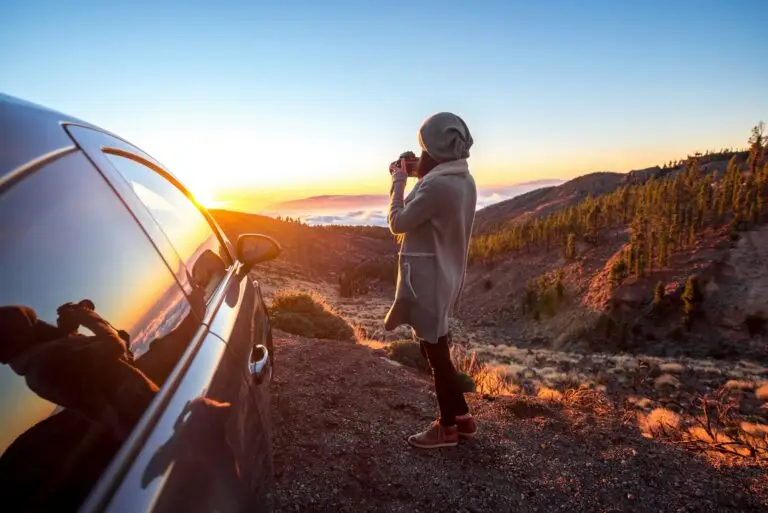
Position yourself and the camera so you’re not visible in the car’s reflection.
3. Editing and Background Removal
So you’ve got your photos done, you can now work on getting them looking their best for your site.
Our customers will usually just send us the pic and let us take care of this part but if you don’t have someone to do this for you, you can still achieve good results.
If using a smartphone, you will probably find it has some great photo editing tools built in allowing you to play with lighting, contrast and even remove background.
Ensure the edges are clean and smooth, and consider placing the car on a transparent background or a background that complements your website’s design.
if you are sending it to someone to work on, make sure you send the full size image.
Conclusion
As a driving school, quality photographs on your site are not just a nice-to-have—they are essential to your online presence.
By taking the time to photograph your vehicle and yourself with care and attention to detail, you can create a professional results that draws in new pupils.
Remember, your photos are a reflection of your brand, so make sure they present you and your business in the best possible light.


